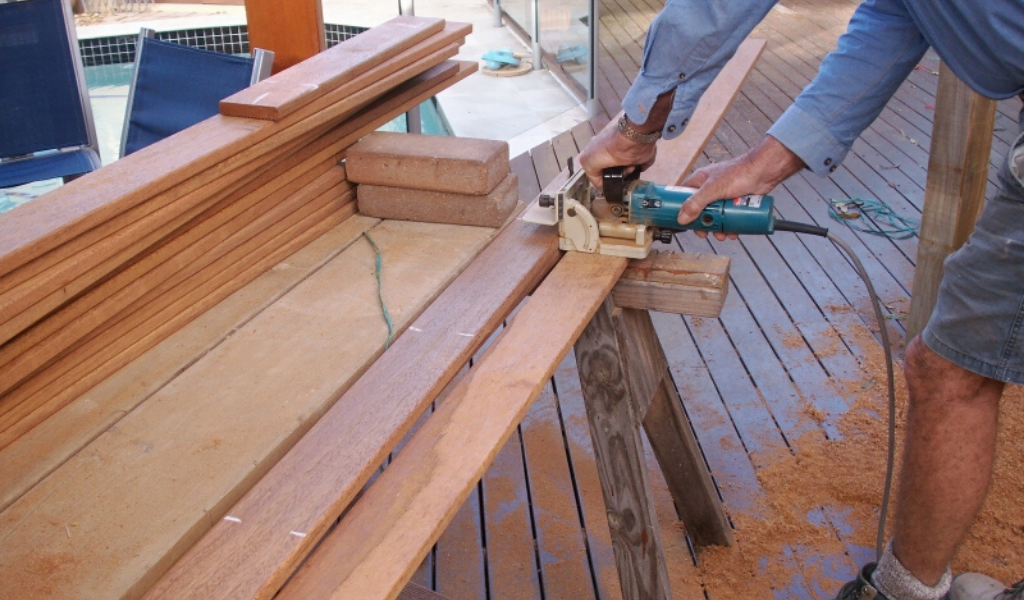
In our last article on the 'best way to build a timber decking masterpiece part 1', we covered planning, tools & materials, and both of those include the all-important factor of budgeting.
Once you have your budget set, plans drawn up and approved, and tools and materials in hand, you can move on to the real deal: building a timber deck. The actual building of a timber deck consists of several steps:
- Site preparation
- Installing the ledger
- Laying the foundation and footings
- Installing deck posts/support beams
- Installing deck bearers
- Installing deck joists
- Laying the decking or planks
This may seem like a lot, but it can be. The job does go faster with more people, and Deck-Max does provide you with the tools and technology to make the entire effort go faster.
Also, while there are many steps, each of them are broken into small jobs, which allow you to build your timber decking in the most efficient manner possible.
Step 3 - Site Preparation for Your Timber Decking
One of the first things you will need to do before commencing to build your timber deck is setting stakes and line to show the size and layout of the deck. This allows you to better picture the plans you have drawn up, making sure you have a better idea of what you are about to get yourself into. This can also assist with gaining the approval of the local council, if necessary. Laying out the stakes and line to show where your deck will be is also going to help because you need to clear out the area around the deck. You may have some landscaping jobs you want to finish around where the deck will be, and you will want to do this now. At this stage, you can dig and plan and pave as necessary. Once the deck is built, you may be faced with difficulty—if not impossibility—of finishing those jobs, or at least finishing them without damaging or tearing out part of your deck.
This will also be the time for adding any outdoor electrical work for your timber decking. If you do not already have outdoor electrical outlets near where your deck will be, you want to go ahead and get those installed. This will help you power your tools during the timber decking construction process. This will also be useful for laying the power and conduits for low voltage outdoor lighting for your deck. It is also possible that you will find a need for those outdoor electrical sockets later. Once the deck is built, you might want to plug up other electronic devices like a portable stereo, a laptop, electric grill, or more. This is also going to be helpful when you move toward maintaining the deck and yard over the years. If you have a deck that will have more complex needs, this is also the time you want to start laying plumbing for gas or water feeds.
Finally, as part of your timber decking site preparation, you will want to excavate the foundation area of your deck. Dig down a few inches. Remove the topsoil and sod. Keep them nearby, as you will need them later to backfill. This is also the point at which you will want to work with the foundation area to level out the ground as much as possible. There are several compacting tools and techniques you can use. This might be a roller addition to a yard tractor or something more powerful such as the handheld, petrol-powered ground compactors.
Step 4 – Installing the Ledger Board for Your Timber Decking
Laying the foundation is certainly one of the most important parts of building your timber decking, but just about all of the steps are equally important. Your foundation is going to support your entire deck and keep it in place. On the other hand, the foundation does not usually do much to prevent your timber decking from swaying side to side. To keep your deck from moving in this fashion, you should install a ledger board. The ledger board is attached to the side of your house.
The ledger board you use is most likely going to be the same size as the deck joists you will be using. These sizes range from 90mm x 45mm, 140mm x 45mm, 190mm x 45mm, or 240mm x 45mm. The ledger board will be attached either at the rim joists for the first floor or directly to the brick wall of the building. On this first step, you will begin using the aluminium flashing. You will place this between the ledger board and its mounting point. The flashing must be properly installed over the top of the ledger board itself.
The ledger board will have joist hangers attached to its outside face to receive the edge of decking joists. This step is covered in more detail later. Properly installed with a strong foundation, ledger board, and joists, your timber decking cannot move.
The ledger board will help you layout the rest of the deck. Throughout the process of building your own timber decking, you want to be sure you are measuring and double-checking. By failing to do this, you are asking for a lot of headaches, lost time, and lost money down the road. With a pencil, mark the proposed location of the joist hangers. Next, take the set out horses you have where the corners of the deck should be. These set out horses are designed to hold masonry strings. Use the masonry string in conjunction with line levels to run level lines between the set-out horses and the ledger board. These will serve as important marking points for the ongoing construction or your timber decking. The set-out horses should be adjusted up and/or down until you have found a level line between them and the ledger board. You will check the square-ness of the layout by measuring from opposite corners. The measurement from diagonal corners should be equal if the deck is square.
Step 5 – Foundations & Footings for Your Timber Decking
Your foundation will provide a stable (and level) support for the rest of your deck. You start the foundation by excavating the footing holes. The foundation must start below ground level in order for it to be stable. The local council can provide you with appropriate depths in regards to how far down the footing holes must be dug. You can also gain this information from a structural engineer. Also, be sure to check with your local council and/or utility companies in regards to any lines or pipes that may be running beneath the surface of the deck area.
There are a few ways to dig timber decking footings. We recommended a shovel and posthole digger in our last article. In most cases this will suffice. You may also want to try a hand auger. In areas with harder soil composites or that require deeper holes, you may want to hire a powered auger—a relatively small piece of heavy machinery that will carve out the footing holes for you.
There are a few ways to handle the footings and support posts. You may install solid hardwood that has been treated directly into the ground. You can also insert solid hardwood posts into a concrete foundation. Finally, solid concrete foundations in conjunction with galvanized support posts are the best solution.
Before we get too far into this step, it is important to understand one detail many overlook. Concrete is designed to absorb (albeit relatively small) portions of moisture. For this reason, your support posts for your timber decking should not be implanted directly in the concrete foundation you pour. Whether you are using hardwood, treated pine, steel, composite, or bamboo decking, that moisture is going to eat away at and degrade the post over time. This is going to be further impacted if it is down in concrete where it cannot be repaired or treated. So, if an when it finally fails, you have to dig up the whole foundation section and post, re-pour, and reset the post.
Therefore, it is always recommended to pour your concrete without the post set in the foundation. Instead, use galvanized post supports, which are only slightly in the concrete, and specifically treated not to rust. If these fail, it is going to be easier to repair in the long run. At the same time, in the more likely event that a support post fails in the future, you can more easily repair and/or replace that post than if it were firmly cemented into the ground.
Once you have the footing holes dug for your timber deck foundation, place a square or circular wood frame above the hole at ground level. Then fill the hole with cement. Remove excess concrete from the top while still wet by dragging a flat piece of wood across the foundation frame.
Once you have set up your footings, you will be ready to move on to the rest of the deck’s foundation. The timber decking foundation is made up of footings, posts, bearers, and joists.
The footings stabilize the foundation. The posts sit on top of the footings. The bearers run through the posts. Then, the joists sit on top of the bearers. If the bearers were not part of the equation, you would need a post to sit under each joist. Imagine all the extra work—all the extra footings.
Step 6 - Installing the Deck Posts for Your Timber Decking
The posts for your timber decking are the most vertical of the structure. They support the joists and bearers. Decking posts serve two primary functions. They support the bearers and joists (which support the floor of the deck) and transfer the weight to the footings below and ultimately into the ground itself. The posts for most timber decking measure 90mm x 90mm. In some cases, 140mm x 140mm posts are used instead.
The post should be attached to the footing with posts support with galvanized nails or screws. Be sure that each anchor hole of the support is firmly attached with a fastener. Now, you should use a temporary brace attached to a stake in the ground. You will level the post and then nail the brace into the post. This will become important as we put up more posts and need them to work in conjunction with the bearers and other posts. It also keeps the posts from wobbling and tearing at the fasteners, enlarging the holes, which then weakens the support they provide, while working on the rest of the construction.
Once the posts are in place and braced, use a long straight board to help mark the level line. Place one end of the longboard flat on the ledger board. Bring the other side of the board over to the posts. Use a level on the board to be sure that everything is level, before marking a level line from the ledger board onto the post.
Step 7 – Installing the Deck Bearers
Next, we will be installing the bearers for your timber decking. Once you have marked each of your posts with the level line, measure an amount down from the level line. The amount you measure down should be equal to the depth of your bearers. Now, use a square to draw a straight line from that line on each side of the post. You now have two options. First, you can cut off the waste above this newly drawn line with a saw. Of course, be careful when cutting a board this side. It always recommended to be kneeling or have proper table support for a board when using a saw. The other option is to cut a half joint into the post so that you can house the bearers within the decking posts.
Simple physics keeps bearers from moving. As they support all the weight from all the joists and decking above, but they should always be nailed, screwed, or bolted into place.
On the top edge of the bearers, draw a line to mark where the joists will go. Mark the side of the line where the joists will sit, to avoid any confusion.
You can connect the deck bearers to the posts with galvanized nails or bolts. This will typically yield sufficient support. In coastal regions or other areas known for high winds, it is a good idea to use galvanized joint reinforcement plates. There are joint joining plates designed specifically for this purpose.
Next time from Deck-Max
Next week, we will finish up the How to Build a Timber Decking Masterpiece with Part 3, where we go over joists and laying of the decking material itself. Until then, be creative, be handy, be safe.