There are a lot of “How to Build Timber Deck” guides out there. Here, we hope to bring together the basics that have been serving us all well for years and the latest advancements in the trade. With Deck-Max timber decking, you will be able to cut down your cost and time, building a beautiful deck made to last for years. To be successful in building your own timber deck, however, you need to follow some set guidelines. It is like any building structure. You need to have a solid foundation before you can begin to build up.
The steps we will go over include the planning stage, gathering the tools and materials, clearing, marking, foundation and posting, joists, railings, timber decking floor (planks), and “finishing” touches.
Step 1 - Planning for Your Timber Deck

While it might seem like a relatively simple and straightforward process, there is a lot that goes into timber decking planning. I like to approach it first with an idea. In this case, it is a simple idea: build a deck. From there, I move on to the big ideas. At this stage, it is supposed to be fun. Think about what you want to have. The early stages of planning for your timber deck are not about what you can have, but what you want.
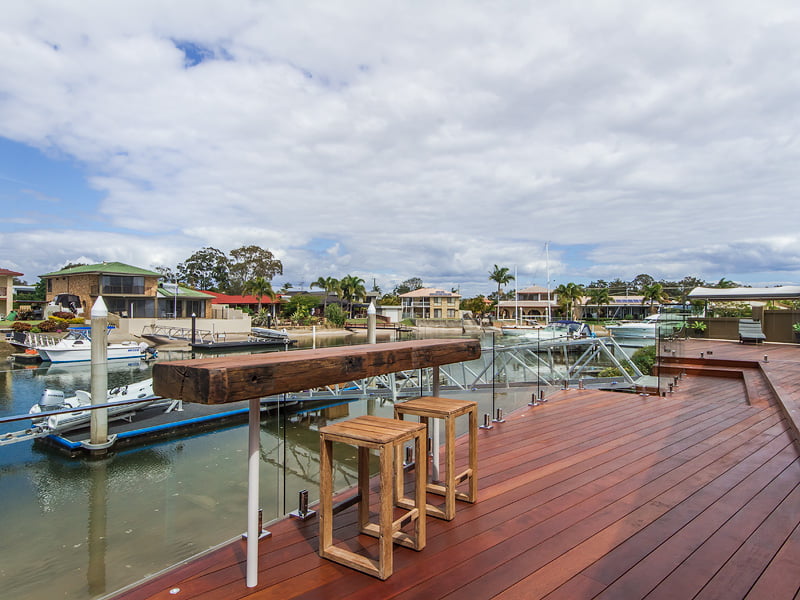
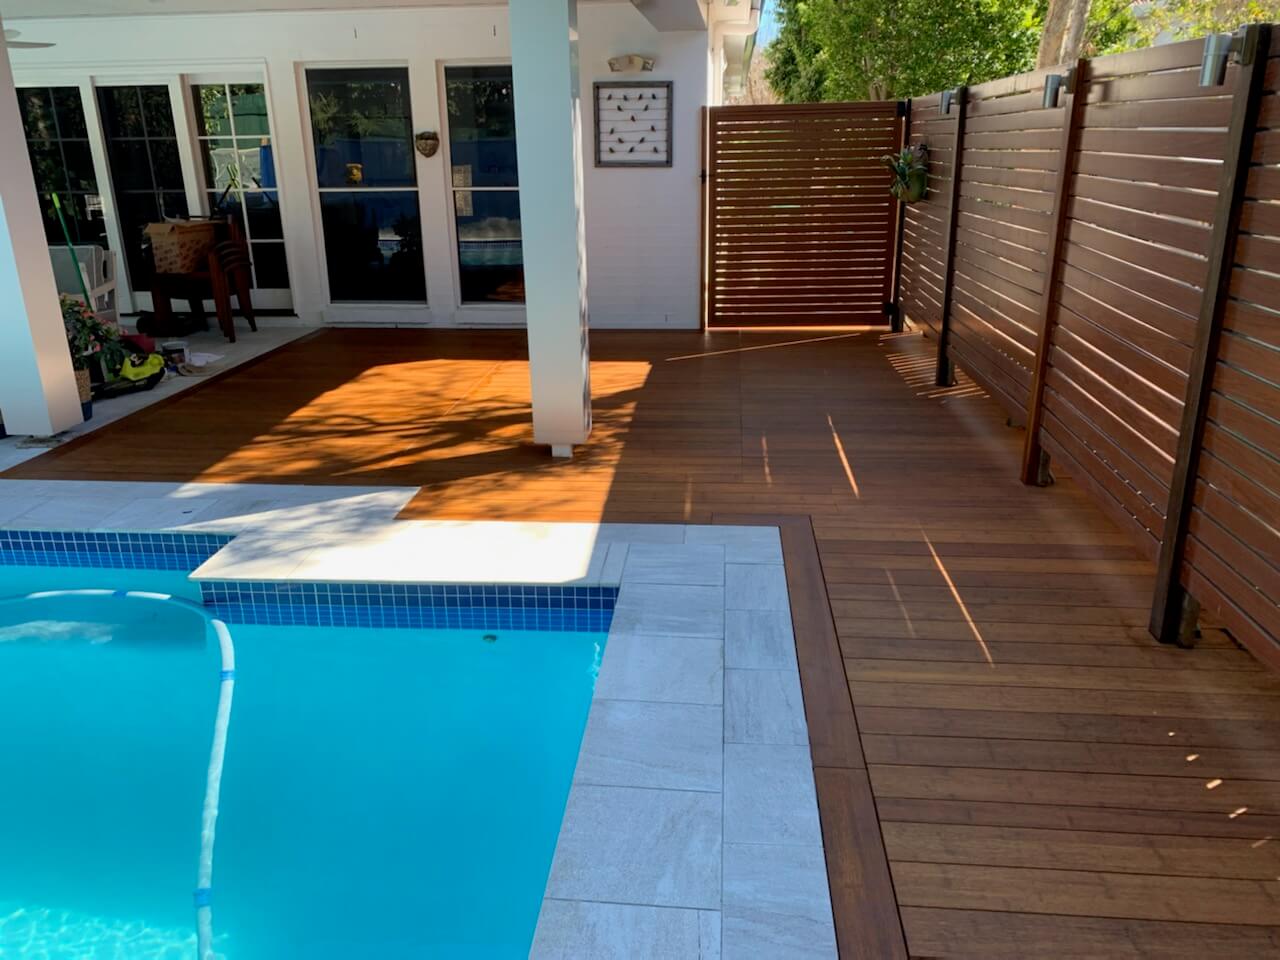
Take a drive. Look through different neighbourhoods and communities. Look online. See what others have done. See what looks good to you. Once you know what style and kind of timber deck you want, you can move on to the next most important part of planning: reality.
First, you need to decide how much space you have to work with. Take some good solid measurements. You can hire a surveying contractor to help you get the numbers just right. Of course, if you plan on building a deck all on your own, you should feel comfortable and confident when taking measurements. Taking measurements for timber decking is going to come into play a lot over the entire course of the project. And, remember the old saying: “Measure twice, cut once.” You do not want to drive up your materials cost or lose a lot of time due to poor measuring.
Once you have the measurements down and know what kind of area you have to work with for your deck, you should start with a rough sketch or drawing. This should give you an idea of what kind of deck you are looking to build. Is it going to be a small 3M x 3M or are you working with something more like 10M x 10M (or larger). Of course, bigger decks cost more and take more time. The other thing to consider is: the larger the project, the more chance for an error.
If you have not already done this, you will want to be sure to check into the basics of building an outdoor structure. There are specific rules you should follow and particular regulations you must follow. We are just in the planning stages here, but many areas will require you to get approval from a governing body before even starting to build your timber deck.
Posts for the timber decking must be a certain distance apart or less. The same goes for joists or any other supporting part of the frame. You must also have the deck a certain height off the ground. There should be gaps built into the measurements for the planks needed, as you do not want the wood butting right up against the next piece. Some believe this is a smart way to go, because it will prevent water damage and mould growth. In fact, not allowing those gaps is more likely to cause water damage and mould. It can possibly also cause a greater risk of fire damage, there is not enough ventilation. All of these things should be carefully considered before finalising any of your timber decking plans.
Once you have your completed plans for your timber deck, be sure to file them with the appropriate authorities for any necessary approval. While this may seem like an annoying burden, the fact is that such governing agencies have inspectors who have been in the field for years. They are familiar with how to properly build a deck that will last as well as what will cause one to collapse. The fees are typically nominal, and the expert advice will reinforce confidence in building your timber deck.
Step 2 – Tools & Materials for Your Timber Decking

Our second step often falls into our first step. Earlier we talked about how you need to look at what you want in your timber decking and we would worry about what you could have later. This is where the real limitations come into it for most of us—cost. It is great that you want a triple-level deck with a roof and a slide that goes into the pool in your backyard. It is even better if you have the skill to complete such a job on your own. None of it really matters, though, if the project is cost-prohibitive.
There are three major costs associated with building a timber deck. You must consider the cost for tools, for materials, and the cost in time. If you hire a contractor, there is a fourth cost, but in that case, you most likely would not be reading this article.
Time is something that some people can put a dollar amount on. If George makes $X an hour and figures it will take 4 weekends away to put up a deck—weekends where he might normally put an extra 10 hours in at work—then we know that he’s going to lose $X times 40, plus the other costs associated with making a deck. For most of us, though, we simply cannot put a dollar amount on time. Time spent building the deck usually means time we are not spending with our families, going out with friends, or finishing other things there just never seems to be enough time for during the week. So, keep in mind, even if the dollar amount of your deck does not hold you back, it probably is not something you want to spend the next six months working on.
After that, it is time to check the wallet.
What tools will you need? What tools do you already have? How many disposable supplied will your need? What kind of timber will you use to build your deck? How much sealant and/or stain will you need?
For most timber deck projects, you will need—at a minimum—the following tools:
(If you have multiple people working on your deck, you may need multiples of the same decking tools)
- Finishing Hammer and Framing Hammer
- Rubber Wood Mallet
- Circular Saw
- Table Saw
- Extra Saw Blades
- Two Saw Horses
- Cordless Drill (with an extra battery pack)
- Non-cordless Drill
- Extra Drill Bits
- Tape Measurer
- Line Marker with Extra Dye
- Level (traditional or digital)
- T-Square
- Shovel
- Post Hole Digger
- Clamps
- Gloves
- Utility Knife
- Tin Snip (if using aluminum flashing)
- Pry Bar
- Ratchet Spanner
- Caulk Gun
- Ladder (especially if building a higher level deck)
- Extension Cord
- Necessary Materials Include:
- Cement
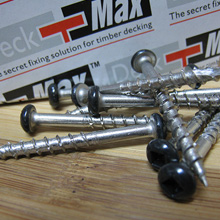
- Screws
- Nails
- Metal Framing Brackets
- Bolts, Washers, and Nuts
- Sealant/Finish/Stain
- And, of course—Timber
Have you already got all of that? If you have, that is a better start than most. Most people are going to need to make more than one trip to the hardware store before and while building their own deck. Even the pro’s need to. Tools break, wear out or go missing. In some cases, we learn something new during the process and find there is a better tool we can use to help make the job go easier and faster. After all, this is how the whole idea of Deck-Max came about.
Tools should last you through the entire job, although some are likely to wear out through the process of building your own deck. The larger the timber deck will be, the more tools you will have wear on you. It is just the way it is. The kinds of tools you will want to have spares of include drill bits and saw blades for this particular job.
The materials you will need will depend on the design of your deck. Based on how many posts you will have and how tall those posts will be, you can find the rough square metres of the holes you will need to dig. This will tell you the approximate amount of cement you will need. The measurements you took and plans you devised will tell you how much timber you will need. This will also show you how many nails, bolts, screws, etc. you will need. Based on the overall size of the timber decking, you will know how much sealant and finish you will need. Remember, you are going to use more of this than your plans call for. In general, there is an average of 10% waste in most timber decking construction.
One thing you need to keep in mind when commencing building your own timber deck is the Deck-Max line of products. Deck-Max brings a faster and better way to build your timber decking. The patented design of their “No Nails” timber decking has been proven to save time, money, and materials. Have a look here and see what they are all about.
This is certainly a new way to construct your timber decking. We will talk about the No Nails method of timber decking a bit more in-depth in a bit, but this is something you need to be aware exists before you get too far into the process of putting up your own timber decking. This isn’t something you want to try and change your mind about when you are part way through laying your timber decking planks. In reality, you can probably make this decision all the way up until the foundation and railings are built for your timber decking. The building method for these does not change. The DeckMax timber decking method does revolutionise the way timber decking is done, but not until it comes time to actually lay down the floor of the deck itself.
Now you see the reason steps one and two often run together. You can plan out the most awesome deck in the world, but you still need to know how much that timber decking is going to cost before even bothering to get started. If the materials and tools are going to cost too much, you need to go with another plan. You need to narrow your horizons a bit and come up with a plan that will fit your wallet.
Once you have a plan that is going to fit your time and monetary budget. You need to start gathering the tools and ordering the materials. A number of things you can pick up at your local hardware store. It is best to order in the timber, however, unless it is a small timber deck. You want all of your wood to come from the same place, the same supplier, and be of the same high quality. You do not want to try and match different timber, finishes, or anything else that is going to directly influence the appearance of your timber decking. Get these things all at once and all from the same place. You also want to make sure you aren't buying illegal wood.
As mentioned earlier, be sure to order extra materials, because you are going to need them. There is nothing worse than getting most of the way through building or finishing your timber decking only to realise you need more wood or more finish and the extra colour or style you had selected is no longer available or is on backorder.
We will cover the rest of the timber decking building guide in next week’s article.

